Making Good Specimens
Now you can collect your plant and make your own specimens.
Collecting Ethics
Before you pick any part of any plant remember to consider:
- Do you have permission to collect in the area concerned? You should never collect in a National Park, Forest or Wilderness Area without permission from the authorities. For some areas you may also need a collecting permit.
- Are there are enough plants to justify your action? In general, follow the 1 in 20 rule - only take one if you can see 20 other good plants of the same kind. Weeds, particularly noxious weeds, can be collected without limit, but minimize the disruption you cause. Don't leave holes in the ground.
- Do you have a good reason for killing or damaging the plant. Whether it is a good enough reason will vary with location.
Pick Your Specimen
Steps to good collecting
- Make detailed field notes for the area before collecting the plant.
- Collect a good specimen - all the parts needed for accurate identification. Because you probably do not know what these are, collect as many different parts of the plant as possible - leaves, flowers, twigs, fruit, seeds. For small herbaceous plants, collect the roots and either whole stems or tops and bottoms (leaf shape, size, and arrangement may vary from top to bottom).
- Attach a tag to your plants as you collect them. This really helps you remember which plant is which when you are identifying them. Give consecutive numbers to each plant you collect and use the same numbers in your field notebook and on your tag.
- Collect flower and fruit whenever possible - positive identification often requires both of these.
- For herbaceous plants, be sure that enough of the below-ground plants are available to show what sort of root system it has.
- Press your plants while they are fresh.
Preserve Your Specimen
There are two parts to preserving specimens: Pressing and Drying.
Pressing
Well made specimens can be both valuable scientific resources and visually attractive. Try to do both, but recognize that some species will frustrate you. Some specimens will blacken soon after being collected, in others just the flower color changes, possibly from a vibrant red to a dull purple. Most species in the Logan region make good specimens, but remember -
No specimen can be made to look better after it has been pressed.
Press your plants while they are still fresh.
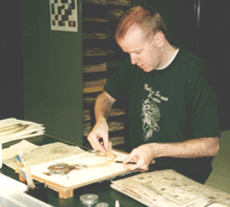
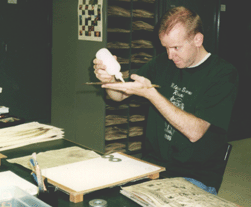
How to press good specimens:
- Clean off the mud from the roots.
- Lay the plant in the newsprint as you want it to look when dried. Take advantage of the space available, remembering that there will be a label attached in one corner. Show both sides of leaves and, if possible, expose the inner portions of a flower.
- Select the best material if the plant is too large to fit in the press. For trees and shrubs, a portion of a branch with leaves and flowers. If it flowers before leaves grow, look and see if there is not one branch that is slightly ahead of the rest. For herbaceous plants, the flowers and upper leaves and some portion of the underground parts. Remember to add to your field notes observations that you cannot preserve such as the plant height or whether it was a tree of shrub.
- Bend the stem or branch if it is too long to fit the paper. If you clip off portions of the branch, leave a stub so that people can see that you have done so.
- If the plants are small, the specimen should contain several individuals (only if the population is large enough to support collecting several).
- Add your specimen in its newsprint wrapping to your plant press and close the press tightly.
- Do not leave bits hanging out of the press. They will not get pressed and will probably be broken off.
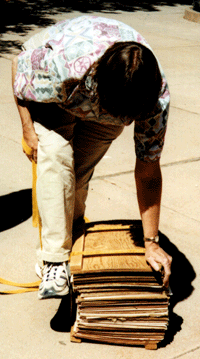
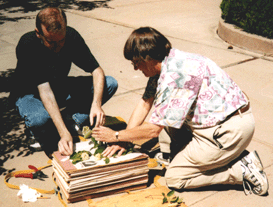
It is important to tighten your press straps well for good pressing. This can be done more easily by using your foot to tighten the straps as demonstrated in the picture on the left.
There are special techniques for pressing seaweeds and other water plants. Put the mounting paper in a pan of water and float the plant onto the paper. Most seaweeds will glue themselves to the paper and make very attractive specimens. Red algae are particularly beautiful when pressed. Place wax paper or plastic between the seaweed and the newsprint or the seaweed will glue itself to the newsprint.
Drying
Specimens look best if dried by having air move over them. This is why sheets of corrugated cardboard are used in the press. Put the whole press in a warm, airy place until the specimens are completely dried out. The air temperature should be no more than 100°F or thereabouts.
In Utah, driving down the road with the plant press on a roof rack is very effective for drying plants. Placing the press over a heating vent at home is also effective.
Identify Your Specimen
You might recognize your plant or be able to guess the name, someone else might even name it for you. However, it is always best to check the name by working it out using reference books and botanical keys. If you do not know the name of the plant then this is the best way to work it out.
An on-line identification resource for tropical and some temperate plants can be found at ARTEMIS.
Specimens can be identified years after they have been collected, but it best to identify them as soon as possible, while the fresh material you set aside for that purpose is still fresh. If you cannot identify them immediately, make labels for them, leaving the name blank and put the label in with the specimen.
Make A Label For Your Specimen
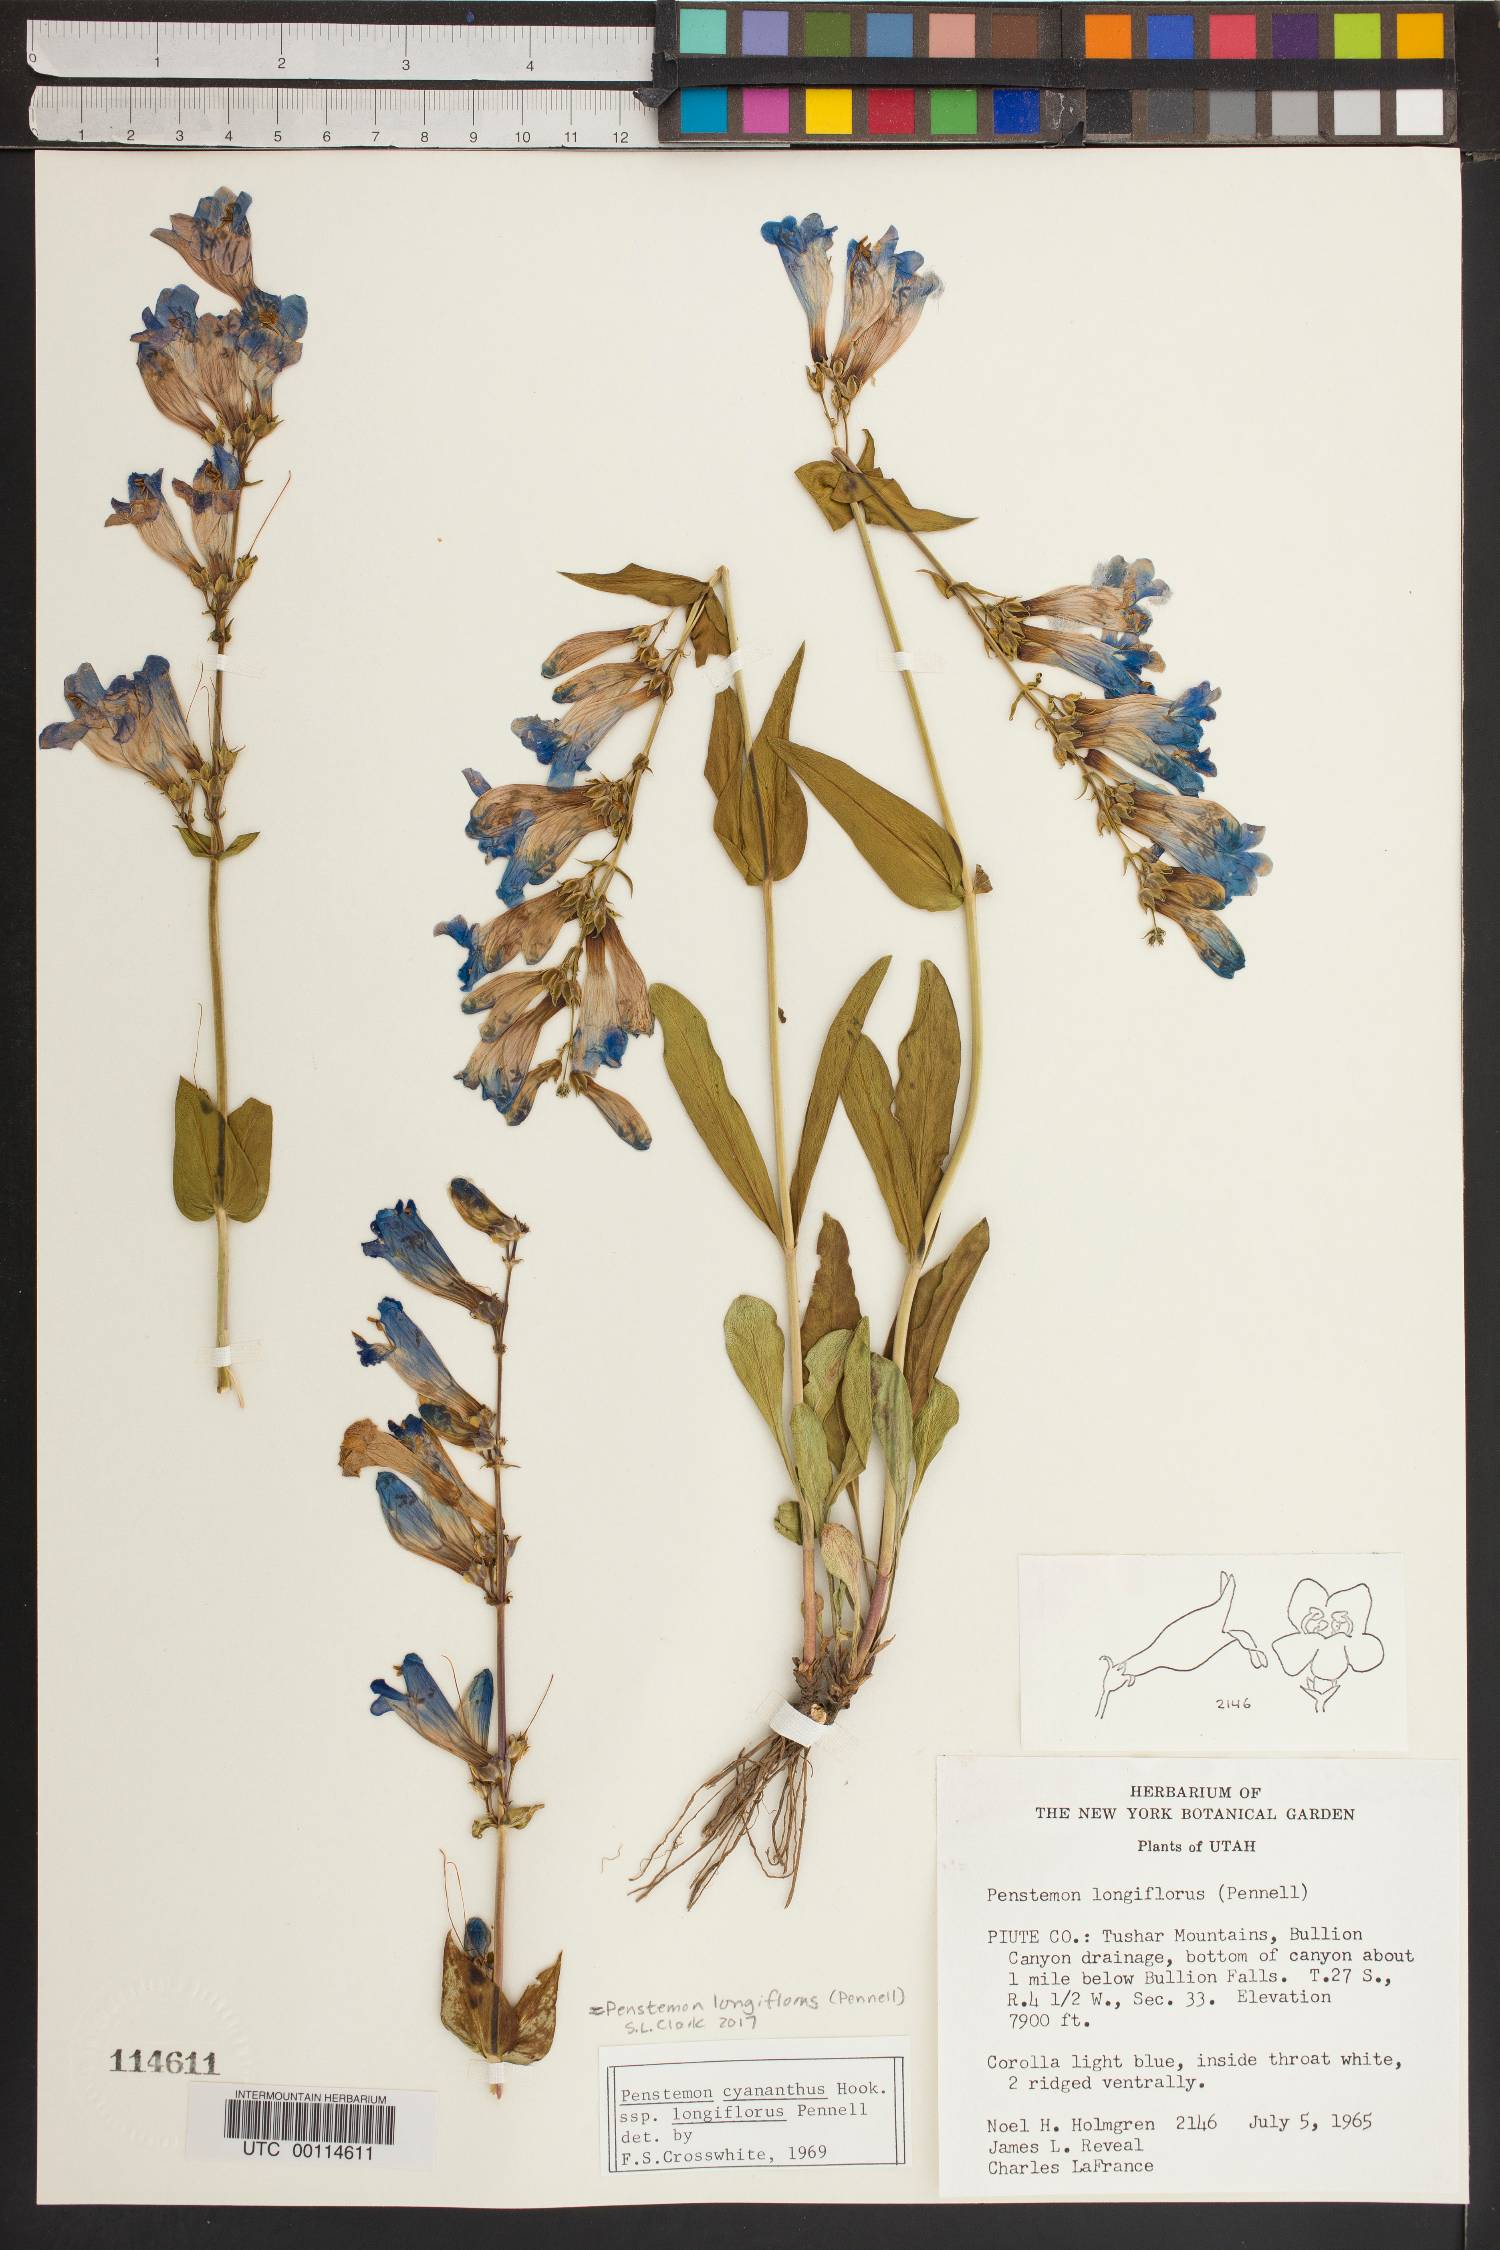
Example of Herbarium Specimen Labels
A label is attached to each mounted specimen. The one shown directly above was generated from a program in the Intermountain Herbarium. The one shown on the picture at the top of this page was prepared using a blank form and filled in by hand.
To prepare your own labels click on the blank label to the right and save the picture to your own computer. You can even arrange a few on a page in a word processing program. Print the label and add all the information you have in your notebook. Alternatively, click here to open a word file that you can save to your disk and then use.
For a free downloadable DOS program for making labels visit the University of Florida Herbarium.
Mount Your Specimen
You will probably want to make your specimens look nice and last well so you will need to mount your specimens.
Use glue, sticky tape or a needle and thread to attach each specimen to a clean sheet of thin cardboard or heavy mounting paper.
If you use standard sized paper you can store them in a loose-leaf binder for easy access.
The dried plant will be brittle so if it is properly dried, put your mounted specimen in a plastic or paper cover if you will be handling it often, or if it is to go on display.
Large herbaria need to ensure that their specimens will last for hundreds of years so they must use acid-free paper and special glues and inks that do not deteriorate.

Store Your Specimens
Store your specimens in a dry place. Freezing your dried specimens for 2 weeks will kill insects if they attack your specimens.
Pressed Flowers
The same pressing and drying techniques can be used to prepare leaves and flowers to decorate cards and pictures. It is always important to dry them for long enough to make sure they do not rot later. Some color will be lost as they are dried.
Another way to dry plants for decoration so that they keep their shape is to hang them upside-down to dry.