Document Drop-in Appointments
Drop-in appointments can be documented in the moment or afterwards. Learn both processes below.
Table of Contents
Documenting Drop-ins
Documenting a Drop-in in the Moment
1
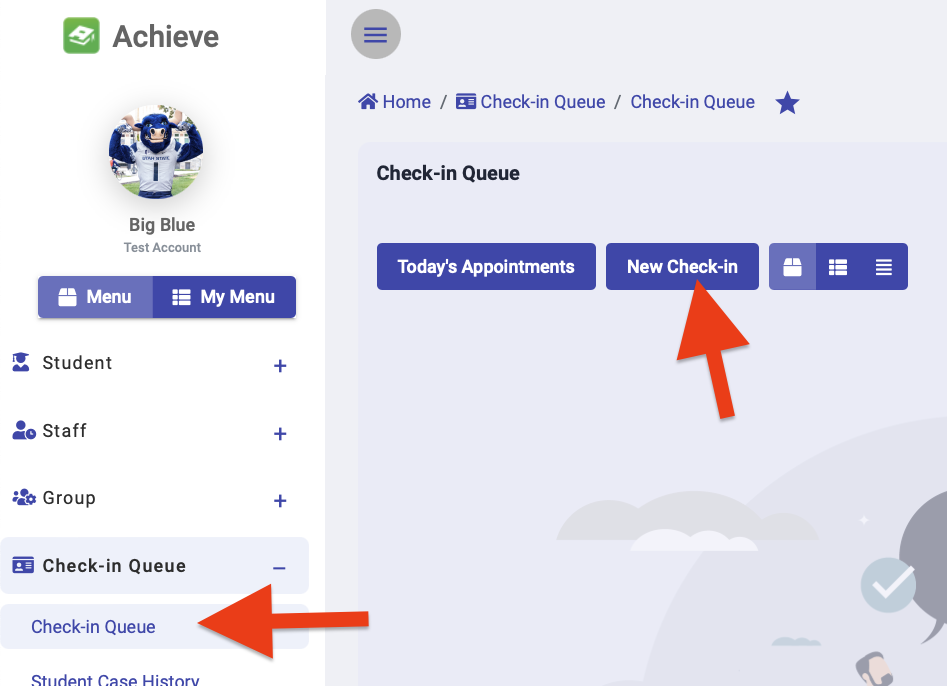
In the "Check-in Queue," select "New Check-in"
2
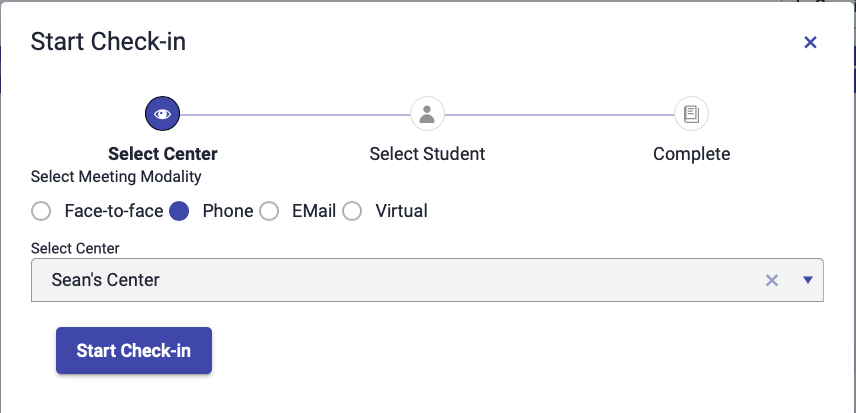
On the window that pops up, select how you are meeting with the student and the center the student should be checked into, then select "Start Check-in"
3
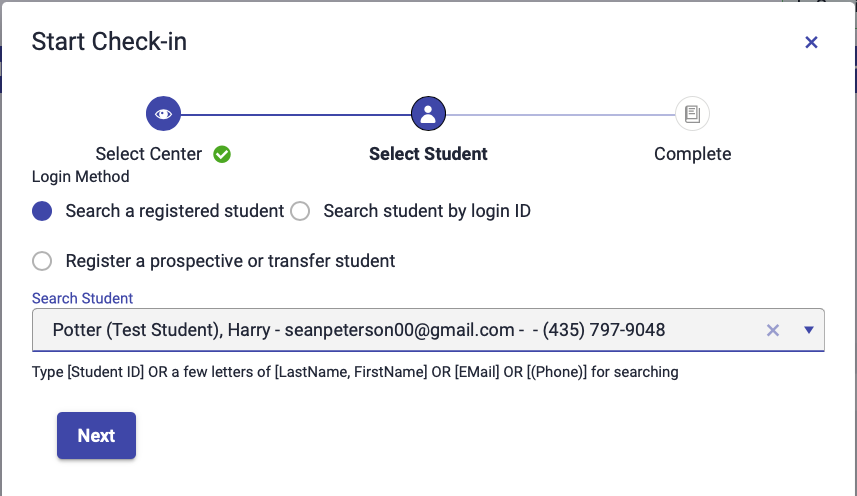
Search for the student using their A-number, name, or email address then click "Next"
- Select "Register a prospective or transfer student" if the student's record is not already in Achieve.
4
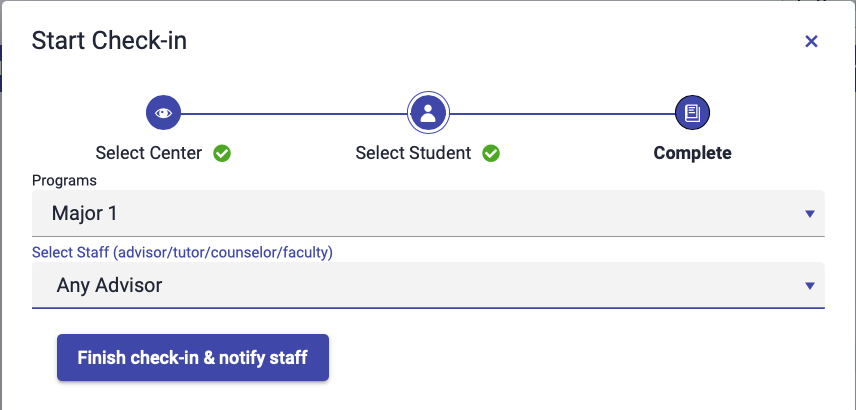
Enter the appointment details
- Select the Program the student is being advised under
- Select the Staff member who will be advising the student
5
Click "Finish check-in & notify staff"
The student will be added to the Check-in Queue. The advisor can start and document the session as normal. Learn more about documenting sessions in the Check-in queue.
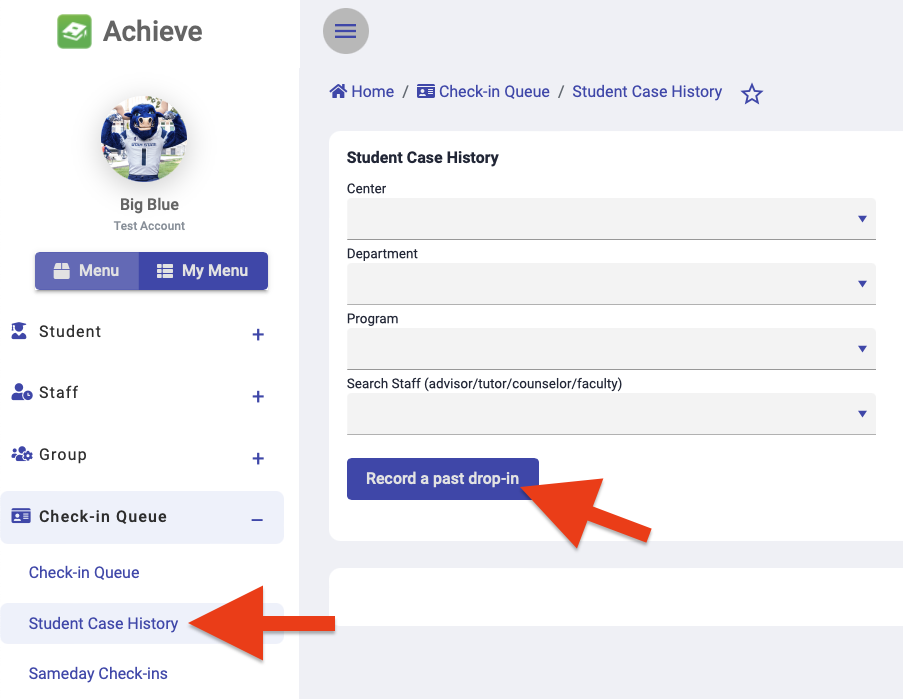
Documenting a Drop-in That Occured in the Past
1
In "Student Cast History" select "Record a past drop-in"
2
Enter the session details in the pop up window then select "Complete"
