Check in a Student for an Advising Appointment
When a student arrives for an in-person advising appointment, they will need to be checked in to appear in the Check-in Queue for advisors. The Check-in Queue shows advisors when a student is ready to meet with them and provides tools for looking up information about the student and documenting the advising session.
There are two ways to check students in for pre-scheduled and walk-in advising appointments:
- Kiosk Check-in: Students check themselves in
- Manual Check-in: Advisors/Receiptionist checks the student in
This guide covers both options.
Kiosk Check-in
When students arrive for their in-person advising appointment, they will check-in for their appointment using their A-number either at a kiosk computer or by scanning a QR code and completing the check-in on their device. Once the student has checked in, they will be added to the Check-in Queue.
Kiosks can be configured to only allow students to check in for pre-scheduled appointments or to allow both pre-scheduled and "walk-in" appointments.
Appointment History Lookup
Advisors and receptionists can manually check in a student for their appointment. This may be used if an office does not have a kiosk computer or QR code. This option is required for virtual appointments where a student does not show up in-person.
Navigate to the "Check-in Queue"
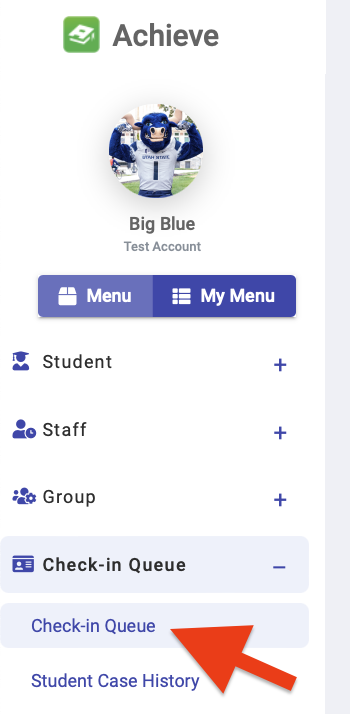
When a student arrives for their appointment, select "Today's Appointments"

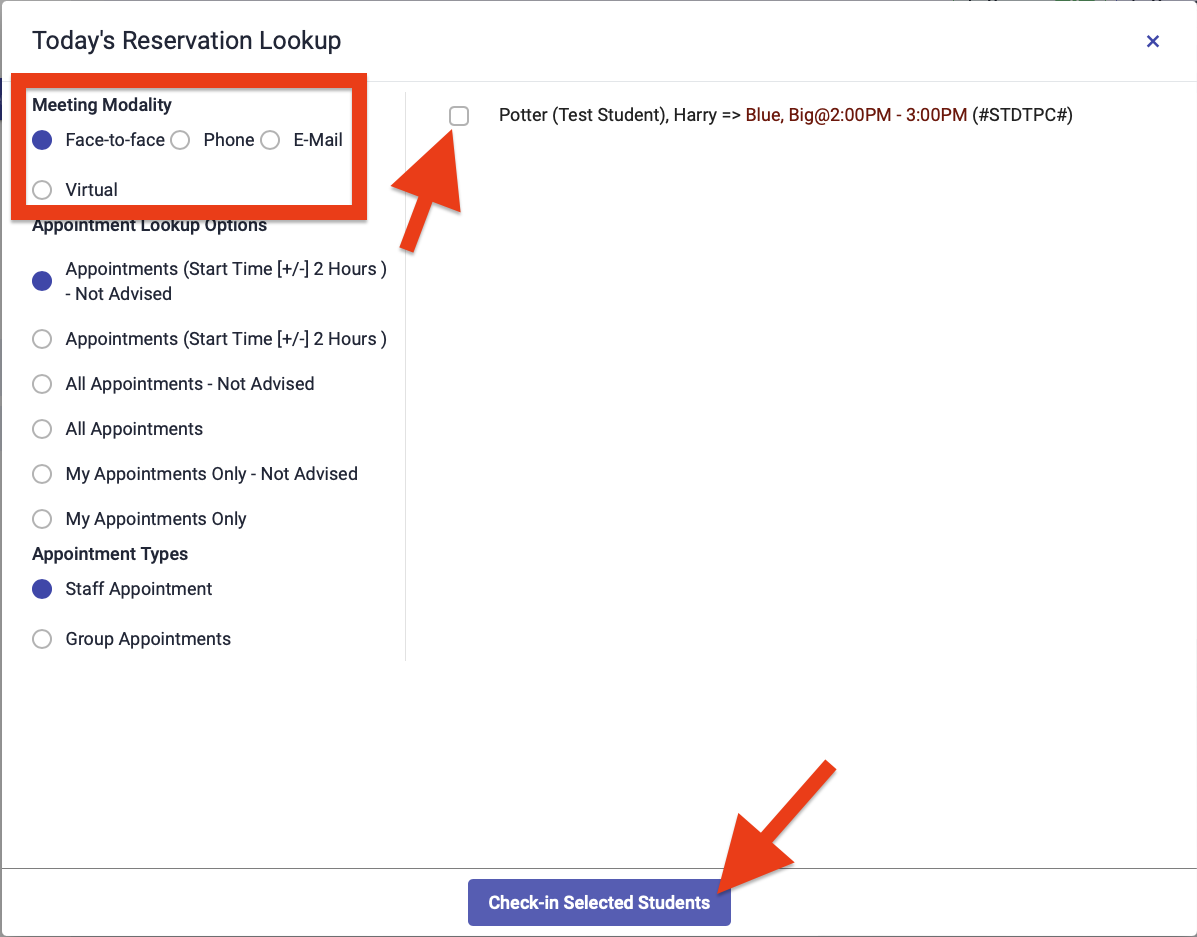
A window will open allowing you to see scheduled appointments for the day. By default, you'll see appointments scheduled for the next two hours. If needed, use the filter options to change the appointments displayed. Select the option that best works for you.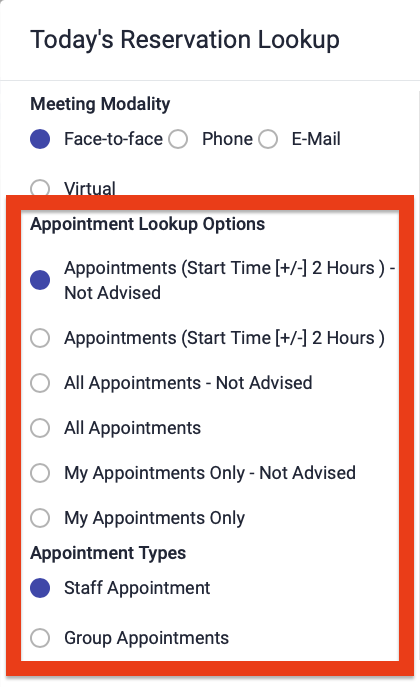
Select the radio button next to the student you want to check in, select how they are meeting with the advisor (face-to-face, Phone, E-mail, Virtual), then select "Check-in Selected Student"