Schedule an Appointment on a Student's Behalf
There are a few different ways to view schedules and appointment availability (e.g., by day, by staff, and by month). This guide covers how to view schedules by month.
1
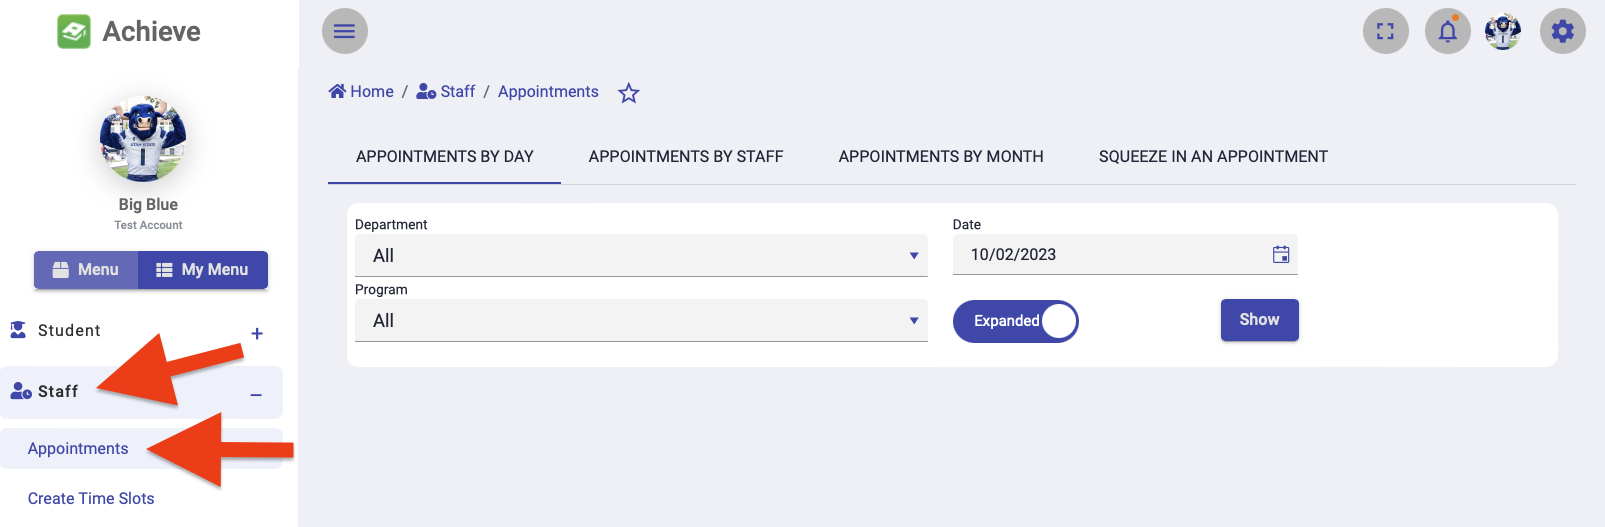
Select the "Staff" tab then "Appointments"
2
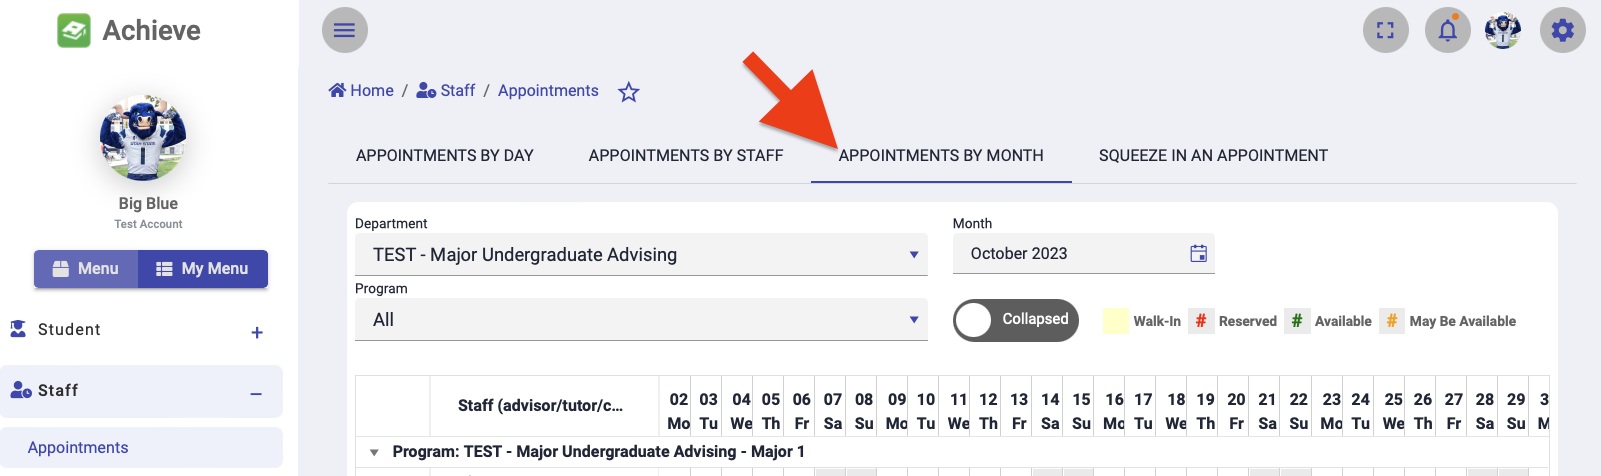
Select "Appointments by Month"
3
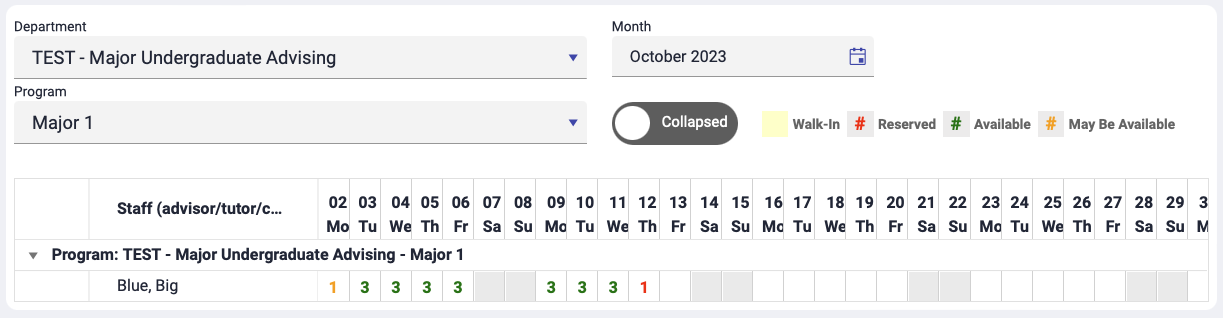
Set the filters to display the appropriate month and Major/Minor
Each date has a number indicating the number of appointment slots in green, yellow, or red.
- Green = The number of available appointment slots.
- Yellow = Appointment slots are available but they wall within that advisors lead time (e.g., there is less then 24 hours advance notice).
- Red = All available appointment slots for the day are booked.
4
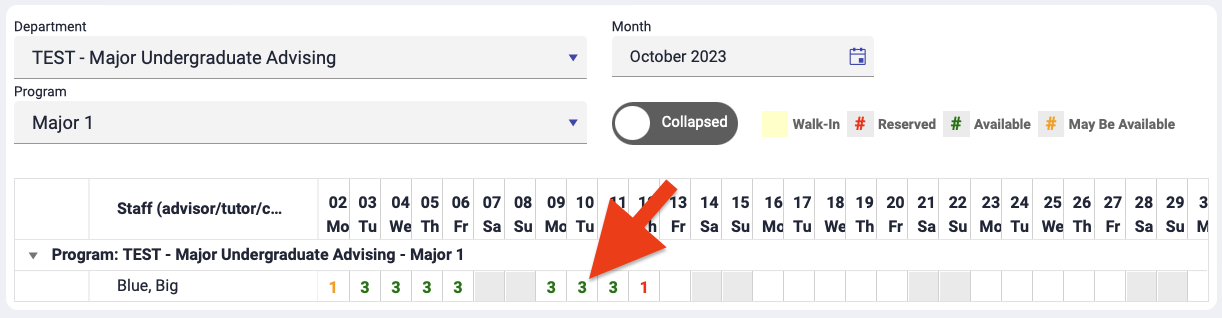
Select a date next to an advisor to view the times
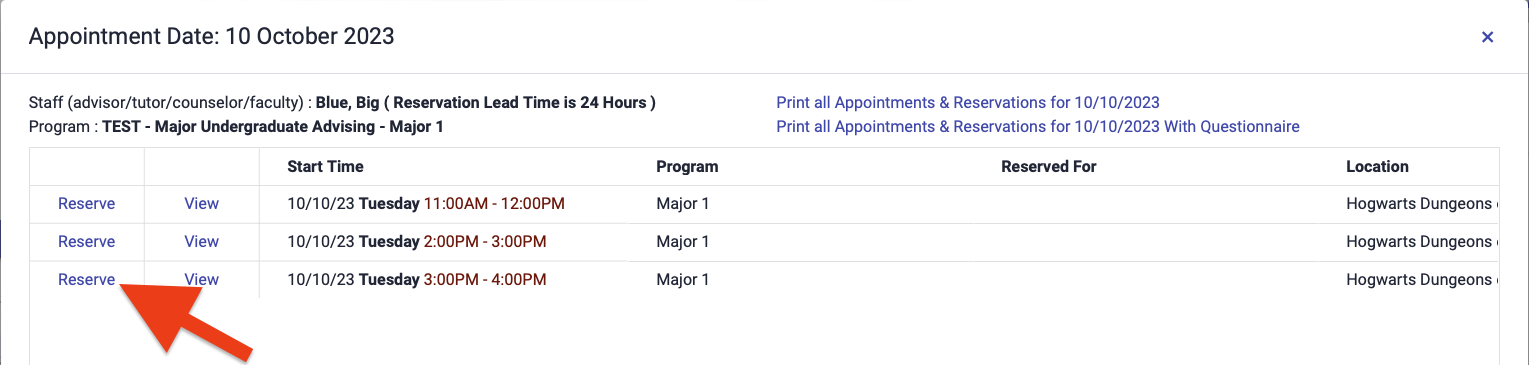
5
Click the "Reserve" link next to the appointment time you'd like to reserve
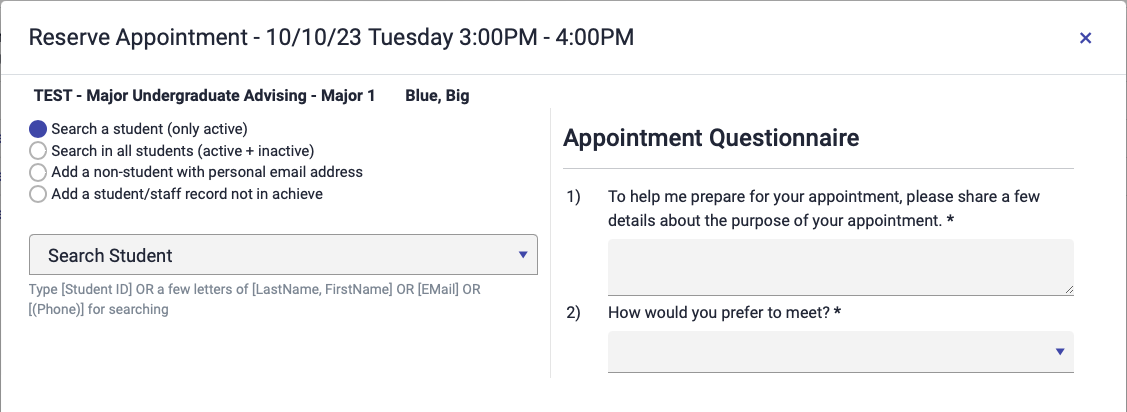
6
Enter the student's details
- Find the student you are scheduling the appointment for (search A-number, name, or email address). If the student is a prospective student and does not yet exist in the system, select Add a non-student with personal email address then enter their email address, first and last names, and phone number.
- Answer the appointment booking questionnaire for the student (if they are utilized for the program).
7
Click the "Reserve Appointment" button to confirm the reservation
The system will send the student an appointment confirmation email with the appointment details.
